
It’s been a while since I have posted a fly tie… I have been tying a ton of flies, I just haven’t stopped to take pictures!
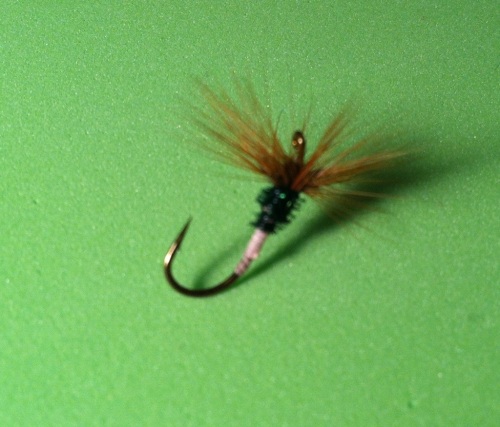
This is a fly that I found on the internet. I was looking for bass flies that I could fish through weed beds and leaves. The bass lake close to my will over grow with weeds in the summer, and all of the “weedless” flies I had were not weedless enough to make it through a lot of the water. They get snagged and lost.
This particularly fly is a “hook point up” floating fly. That means it (usually) always lands with its hook point in the air, due to its foam tail and wings. Most floating flies land with their hook point down in the water… the hook point is heavier than the rest of the fly, so as it falls in the air during it’s presentation, physics takes over and the hook point usually ends up down…
The physics of drag and wind resistance; as well as gravity pulling on the hook point while on the surface of the water… I am aware that objects in a vacuum fall at the same rate. Unfortunately, I don’t fish in a vacuum.
Who knew there would be a physics lesson in this post?
The foam wings help the fly fall upside down (by dry fly standards). Even if the hook point lands down, the wings will help the fly turn over as it is pulled on the water.
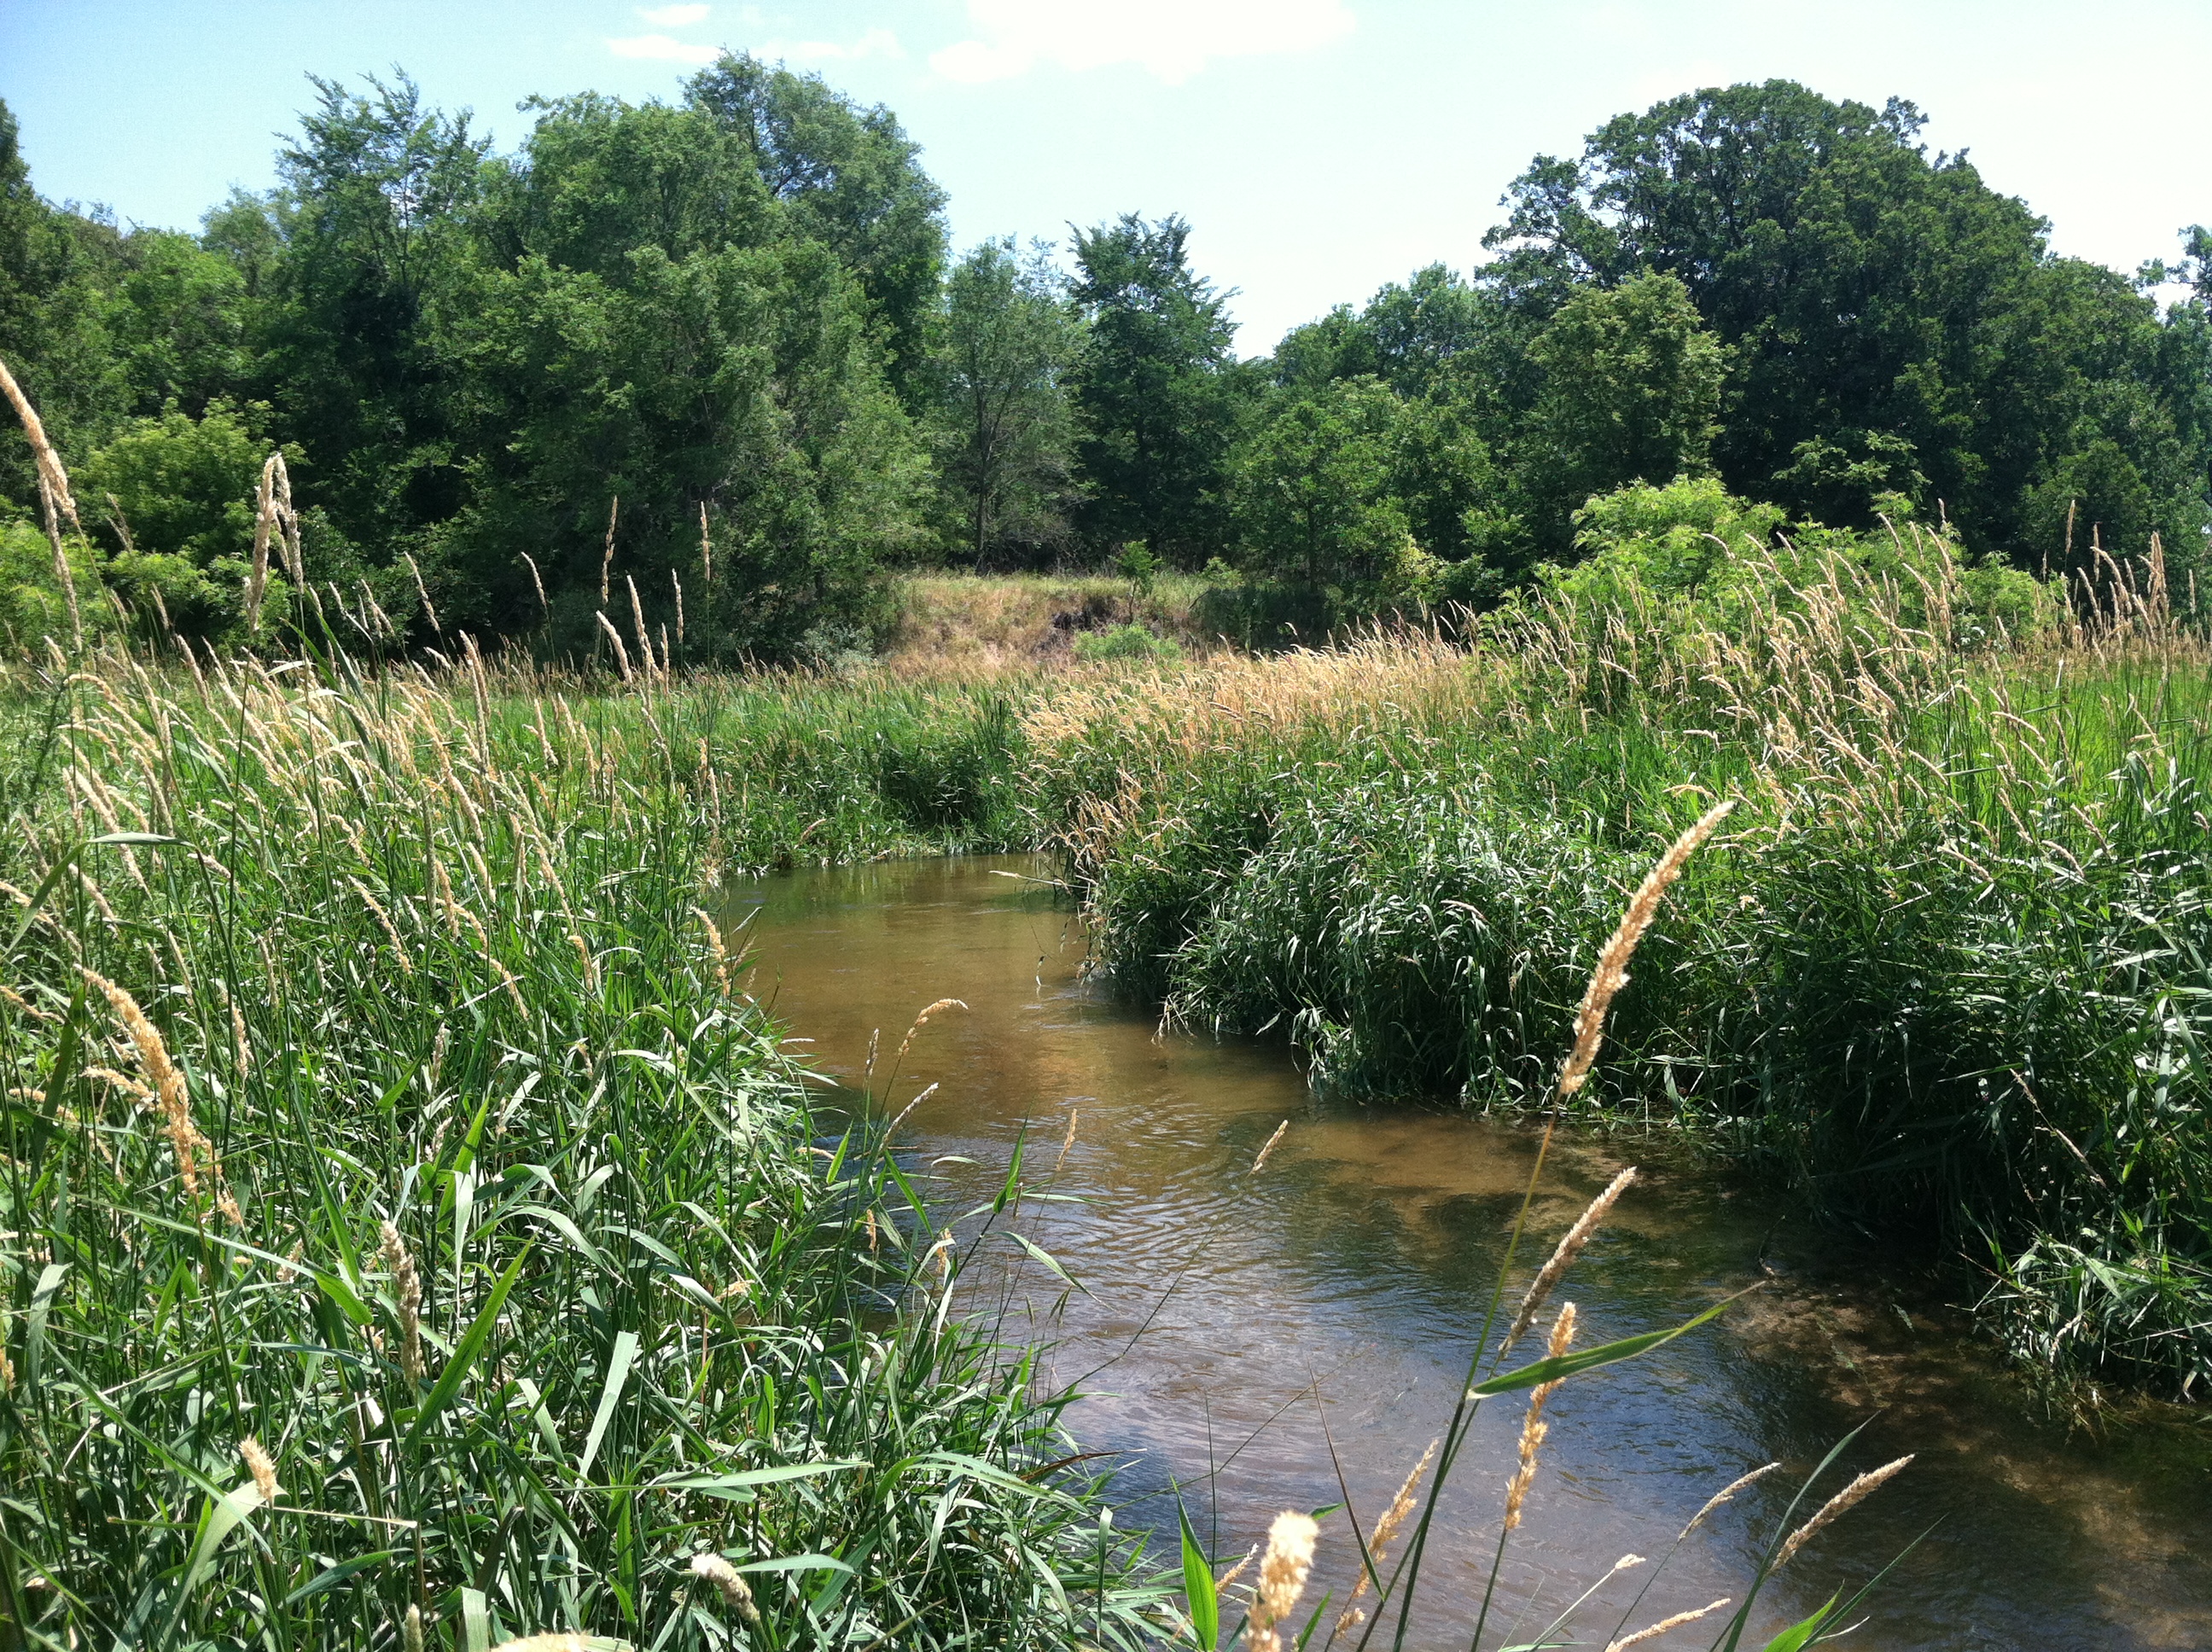
This is all useful so I can fish right over the heaviest weed beds without worrying about snags… where the biggest bass like to hang out waiting on something to ambush.
At least that is the hope. I haven’t got a chance to try them out yet… But they look pretty cool…
The website I found them on calls these flies “Gurglers”… Little E calls them “Bunny Ear” flies.
I like that better…
Materials:

Hook: Mustad C52S BLN, Size 2
Thread: Black Ultra Thread, Size 140
Underbody: Pearl Chenille; Black
Body: 1/8th Green Foam
Tail: Rubber Leg Material
Eyes: “Googly” Eyes
Step 1: Start by tying thread on at the end of the hook.

Step 2: Tie on rubber leg material to form tail.

Step 3: Tie on chenille; used to form body in a future step.

Step 4: Cut a strip of foam about 1/8th to 1/4 of inch wide. Cut the strip down the middle about 2/3rds to 1 inch long to form the foam tail.
Flip the hook in the vise and place the bend of the hook between the foam tails and tie foam on underside of hook shank.

Step 5: Wrap thread forward to about 1 and 1/2 head space from end. Wrap chenille forward to form body, secure, and cut tag end off. Secure front of foam body on top of chenille.

Step 6: Fold tag end of foam back across body, leaving enough slack to form a head approximately the same size as the eyes. At this point I secure the thread with a couple of half-hitch finishing knots and remove the thread.

Step 7: Rotate fly 90 degrees in vise. Add a drop of super glue on side of head. Add googly eye. Flip fly and repeat.

Step 8: Add a drop of super glue on the half hitch knots to keep the foam from rotating on the fly.

Step 9: Take scissors and cut the foam wing down the middle almost to the crease formed by the thread. Remove from vise and go fishing!


You must be logged in to post a comment.